

How To Create An Event Registration Form
Want to make a WordPress event registration form? Making a form can help to sell tickets to your event and skyrocket sales and attendance.
So in this tutorial, we'll walk you through how to make an online event registration form in WordPress so you can harness the power of online event planning.
Create Your WordPress Event Registration Form Now
How Do I Create an Event Form in WordPress?
The easiest way to create an event form is by using the WPForms plugin.
Sure, you've got an events calendar in your office, but you'll need a place on your WordPress website to put your event form so people can access it online. This all-in-one page will contain additional information about your event. Hopefully, it will help with selling more tickets and getting the featured event shared on social media, too.
Remember to share these helpful details to get the best results:
WPForms is the best WordPress Form Builder plugin. Get it for free!
- What's in it for them? Give your visitors a good reason to attend your event.
- Time and location. Put this information in a prominent area your visitors can easily find.
- How to purchase tickets. Direct people to use your online registration form.
- Get permission to add them to your email list. Asking event attendees to join your newsletter while they're filling out your form is a great way to up your email marketing game.
Have an event calendar on your website and want new events to add? You may also want to learn how to use The Events Calendar to accept user submitted events.
So now if you're still asking yourself how do I register an event in WordPress, read on. Because after you've added this information to your event pages, it's time to create your form.
How to Make a WordPress Event Registration Form
Ready to start? We made a video to show you all of the steps in this guide.
If you'd prefer to read a tutorial, no problem. Check out these step by step instructions to make your online event registration form:
- Create a WordPress Event Registration Form
- Customize Your WordPress Event Registration Form
- Configure Your Form's Settings
- Configure Your Form's Notifications
- Set Up Your Form's Confirmations
- Configure Your Form's Payment Settings
- Add Your WordPress Event Registration Form to Your Site
Let's start by installing the plugin.
Step 1: Create a WordPress Event Registration Form
The first thing you'll need to do before you make an event and start selling tickets online is install and activate the WPForms plugin.
WPForms is the best form builder for WordPress. It also makes WordPress event registration easy because you don't have to install a full eCommerce plugin like WooCommerce.
And WPForms has tons of functionality, so you can use it as a WordPress event registration form plugin to create all of your website forms as well as your event registration page (on any WordPress theme).
For more details on getting the plugin set up, see this step by step guide on how to install a WordPress plugin. You'll need to pick the Pro or Elite premium version if you want to take payments.
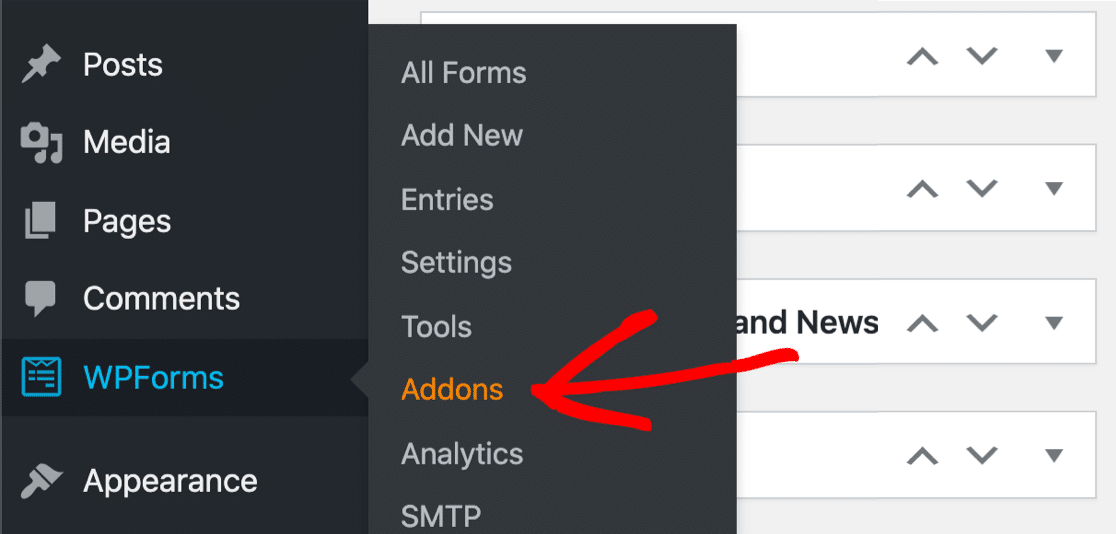
Next, you'll need to install and activate the Form Templates Pack Addon.
In the WordPress admin area, clickWPForms » Addons.
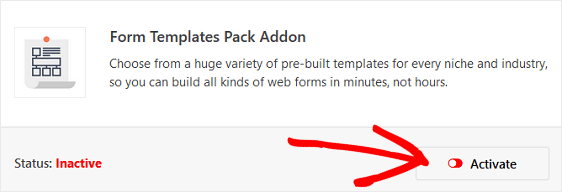
Scroll down until you find the Form Templates Pack. Then click Install Addon and Activate.
With this addon, you'll be able to access the pre-built online event registration form template, as well as tons of other industry and niche specific templates for creating customized forms for your site. This saves you the time needed to manually add event registration form fields to a simple contact form.
Next, go to WPForms » Add New to create a new form.
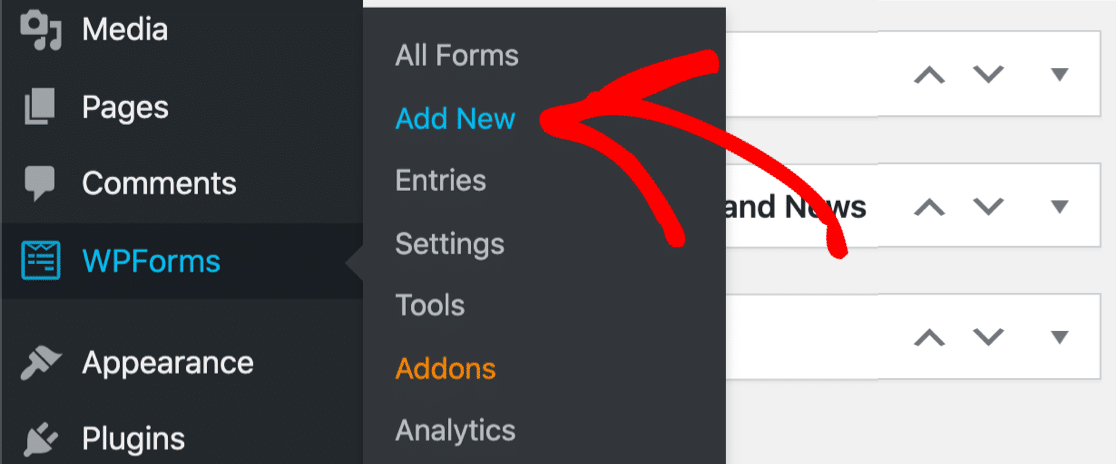
On the setup screen, name your form and scroll down to the bottom of the templates screen where it says Additional Templates. Type "Event Registration" into the search bar and the online event registration form template will appear.

Click on the template and WPForms will create an event registration form for you.

Now let's customize the form our visitors will see on the frontend.
Step 2: Customize Your WordPress Event Registration Form
WPForms makes customizing forms easy to do.
You'll see the following form fields on your online event registration form:
- Name
- Address
- Home Phone
- Work Phone
- Multiple Choice
- Single Line Text
- Dropdown
You can add additional form fields to your event registration form by dragging them from the left hand panel to the right hand panel. You can also customize the fields by clicking on the field.
For instance, WPForms makes collecting payments from your site visitors on your forms easy to do. In fact, WPForms is so flexible, you can collect payments from users right from your forms or wait to collect payment at a later time. You don't need to use an eCommerce plugin or make people go through checkout.
If you want to collect payment for your event from site visitors on your event registration form, you'll need to customize your dropdown menu form field.
To do this, delete the dropdown menu from your form in the right hand panel of the form editor. Then, scroll down to the Payment Fields and add a Multiple Items form field to your form.
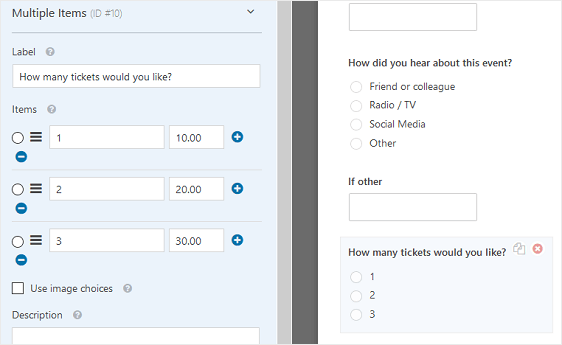
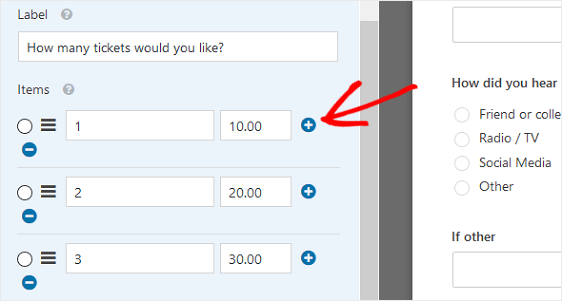
Customize the form field, making sure to add the event ticket amounts. If you want to boost ticket sales add the option for people to buy more than 3 tickets, simply click on the plus (+) to add another option.
Now, whenever a site visitor registers for your event, and chooses the number of tickets they want to purchase, they'll see their total.
If you want to bill your attendees at a later date, simply keep the dropdown menu, let people choose the number of tickets they want to purchase, and send them an invoice after registering for your event.
For help with invoicing your customers, be sure to check out our roundup of the most affordable invoicing software options available.
When you're done customizing your event registration forms, click Save.
Step 3: Configure Your Event Registration Form's Settings
To start, go to Settings » General.
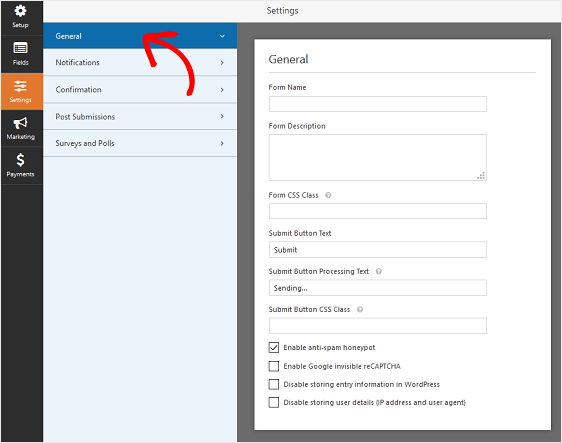
Here you can configure the following:
- Form Name— Change the name of your form here if you'd like.
- Form Description — Give your form a description.
- Submit Button Text — Customize the copy on the submit button.
- Spam Prevention — Stop contact form spam with the anti-spam feature, hCaptcha, or Google reCAPTCHA. The anti-spam checkbox is automatically enabled on all new forms.
- AJAX Forms — Enable AJAX settings with no page reload.
- GDPR Enhancements — You can disable the storing of entry information and user details, such as IP addresses and user agents, in an effort to comply with GDPR requirements. Check out our step-by-step instructions on how to add a GDPR agreement field to your event registration form.
When you're done, click Save.
Step 4: Configure Your Event Registration Form's Notifications
Notifications are a great way to send an email whenever an application is submitted on your website.
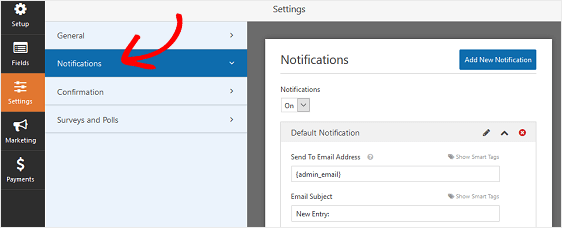
In fact, unless you disable this feature, whenever someone submits an event registration form on your site, you'll get a notification about it.
Here are some tips on setting up the best WordPress event form:
- If you use smart tags, you can also send a notification to the site visitor when they register for your event, letting them know you received their registration and ticket purchase and will be in contact shortly. This assures people their event registration has gone through properly. For help with this step, check out our documentation on how to set up form notifications in WordPress.
- If you need to send extra confirmation emails, for example to yourself, an event coordinator, and the attendee, check out our step by step tutorial on how to send multiple form notifications in WordPress.
- Andi if you want to keep branding across your emails consistent, you can check out this guide on adding a custom header to your email template.
Step 5: Set Up Your Form's Confirmations
Form confirmations are messages that display to site visitors once they submit an event registration form on your website. They let people know that their form has been processed and offer you the chance to let them know what the next steps are.
WPForms has three confirmation types:
- Message. This is the default confirmation type in WPForms. When a site visitor submits an event registration form, a simple message confirmation will appear letting them know their registration was processed. Look here for some great success messages to help boost customer happiness.
- Show Page. This confirmation type will take site visitors to a specific web page on your site thanking them for registering. For help doing this, check out our tutorial on redirecting customers to a thank you page. In addition, be sure to check out our article on creating effective Thank You pages for boosting customer loyalty.
- Go to URL (Redirect). This option is used when you want to send site visitors to a different website.
Let's see how to set up a simple form confirmation in WPForms so you can customize the message site visitors will see when they register for an event on your website.
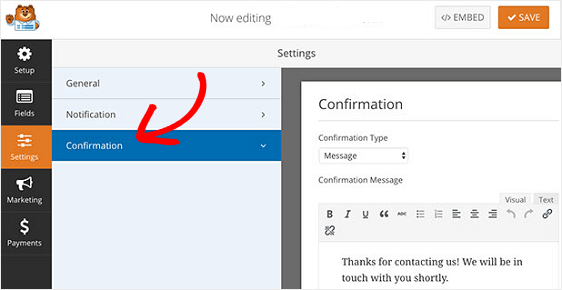
To start, click on the Confirmation tab in the Form Editor under Settings.
Next, select the type of confirmation type you'd like to create. For this example, we'll select Message.
You'll see a user friendly HTML editor that lets you type your own message. You could use this to add a link to the venue on Google Maps.
When you've customized the confirmation message to your liking, click Save at the top of the form builder.
If you want to display different confirmations to registrants based on their behavior, be sure to read up on how to create conditional form confirmations.
This would be useful if you wanted to send site visitors that pre-paid for their tickets to a thank you page and display a confirmation message to those that hadn't paid yet informing them that you would be in touch with the next steps.
Step 6: Configure Your Form's Payment Settings
If you're collecting payment from site visitors on your event registration form, you'll need to configure your form's payment settings so online payments process the right way.
You can skip this part if you're collecting an RSVP without payment.
WPForms integrates with PayPal, Authorize.Net, and Stripe for accepting credit card payments.
To configure the payments settings on your event registration form, you'll first have to install and activate the right payment addon.
For easy step by step instructions, check out our tutorial on installing and using the PayPal addon. If you want to use Stripe, you'll find similar instructions for installing and using the Stripe addon here.
Once you've done that, click the Payments tab in the Form Editor.
In our example, we'll set up PayPal to process orders.
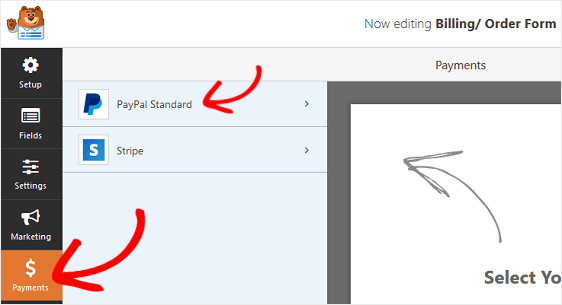
Here you'll need to enter your PayPal email address, select the Production mode, choose Products and Services, and adjust other settings as needed.

After you're done configuring the payment settings, click Save to store your changes.
Be sure to check out our tutorial on allowing customers to choose their payment method if you want to offer different payment options.
Now you're ready to add your online event registration form to your website.
Step 7: Add Your Form to Your Site
After you've set up an event registration form, you need to add it to your WordPress site.
Unlike many event management plugins, WPForms lets you add your forms to many locations on your website, including your blog posts, pages, and even sidebar widgets. No shortcode required in the block editor!
Let's take a look at the most common placement option: page/post embedding.
To begin, create a new page or post in WordPress, or go to the update settings on an existing one.
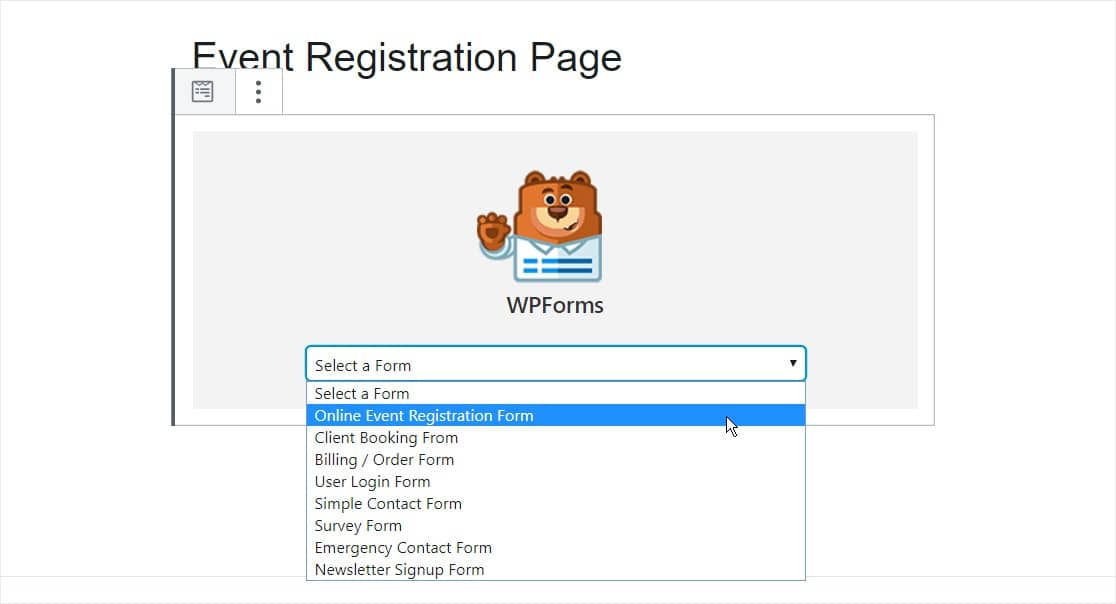
After that, click inside the first block (the blank area below your page title) and click on the Add WPForms icon.

The handy WPForms widget will appear inside of your block. Click on the WPForms dropdown and pick which one of the forms you've already created that you want to insert into your page. Select your Event Registration Form.
You'll want to add your event information to the page here. You might also want to optimize your event page for SEO to get the maximum traffic.
Then, publish your post or page so your online event registration and ticketing form will appear on your website.
Interested in how to save time with customizable online events managing? WPForms is a great tool to use as an events manager if you've got recurring events since the forms are so simple and easy to set up.
You can also add multiple pricing options that change the total price of your event, if you're charging an event registration fee.
Create Your WordPress Event Registration Form Now
More Tips for Event Registration Forms
And there you have it! You now know how to create an online event registration form and now you can start selling tickets and promoting your events online. It's easy to do with WPForms as your WordPress event registration plugin.
If you'd like to automatically open and close registrations on a certain date, check out this guide to setting a form expiration date.
And be sure to check out our tutorial on how to automatically send a WordPress order form email receipt so you can give attendees that have pre-paid for your event proof that they paid.
So, what are you waiting for? Get started with the most powerful WordPress forms plugin today. The WPForms Pro version comes with a free event registration form template and offers a 14-day money-back guarantee.
And don't forget, if you like this article, then please follow us on Facebook and Twitter.
How To Create An Event Registration Form
Source: https://wpforms.com/how-to-make-an-event-registration-form-in-wordpress/
Posted by: hickstherinchis.blogspot.com
0 Response to "How To Create An Event Registration Form"
Post a Comment